Baking
Your First Artisan Loaf
An easy, overnight recipe to help you bake
your very first sourdough artisan loaf.
WARNING:
Sourdough baking is highly addictive hobby. Read the rest of this with caution.
Yay! Welcome! I’m so happy you decided to give sourdough a try. I remember how overwhelming I found sourdough when I first ventured into it… I promise you: if you stick to it and follow along with what I am about to share, it will become way more simple than it seems and you’ll be a pro in no time.
Below, I will walk you through the recipe I used to make my very first (successful) loaf of artisan bread. Hope this helps!

Active Starter
For this recipe, you will need to use active starter. If you’re unsure of the difference between active starter and inactive starter (aka discard), click here.
Ingredients
475g Bread Flour (3 1/2 cup)
325g Water (1 1/3 cups)
10g Mineral Salt (2 tsp)
100g Active Starter (1/2 cup)

Timeline
-
8am - Feed your starter:
50g discard
50g water (filtered)
Set it somewhere warm to double or triple in size so you have active starter to use for your recipe. (A trick I use often is to turn my oven light on and set it inside the oven. This creates the perfect little warm spot)
NOTE: This works best if the starter is room temp before beginning. If you are storing your starter in the fridge, you will ideally want to take it out the night before and let it sit on the counter overnight. You can use cold discard too, it will just take longer to peak and you might not be able to mix up your loaf by noon.
**My favorite sourdough jar is this one.
-
12pm - Around noon (or after your starter is active and ready to use), grab a bowl and all your ingredients. It is time to mix up your loaf.
**The largest bowl in this set is my favorite for mixing up a loaf or two, and I love that it comes with a lid.
The most accurate way to create consistent results is by using a kitchen scale. I've included both gram measurements and cup measurements in the recipe, however.
Ingredients:
325g water (1 1/3 cups) *filtered water
100g active starter (1/2 cup)
475g bread flour (3 1/2 cup) *any type of flour works, you just won’t get as fluffy as a loaf if you use all purpose. I like to use Unbleached Organic King Arthur Bread Flour.
10g salt (2 tsp) *I use Redmond Real Salt. (Side Note: Click here to learn more about mineral salt and why you should be using it instead of table salt! My family only uses mineral salt)
Step One: Place your bowl on the scale and zero it out.
Step Two: Add 325g of water to the bowl. Zero out your scale again.
Step Three: Add 100g of your active starter to the water. Mix it up until you have a milky liquid. Zero out the scale again.
Step Four: Add 475g of flour to the milky liquid. Zero out the scale once more.
Step Five: Add 10g of salt on top of the flour.
Step Six: Using your hands (or a dough hook) you are going to mix up the ingredients until you have a shaggy dough ball. The dough may seem dry when it is first coming together. Resist adding more water.
Step Seven: Cover the bowl with a wet towel or saran wrap and leave it alone, untouched for 30min-1hr. This part of the process is called the autolyse and is allowing the flour to fully soak up all the water before we proceed.
-
After your dough completes the autolyse, we are going to perform our first round of stretch and folds.
When done correctly, stretching and folding sourdough will strengthen the gluten and gently incorporate air into the dough without the need for kneading. It will also give your sourdough loaf a lofty high rise and more open interior crumb.
Stretch and folding can be hard to explain, so if you need a video example, this is one I recommend.
Note: Use wet hands during the stretching and folding if the dough is too sticky.
Step One: Grab one of the sides of your dough. Pull it up in the air, and stretch it across the dough ball to the middle of the dough.
Step Two: Rotate the bowl 90 degrees and repeat step one. (Grab the side of the dough, pull it in the air, and stretch it to the middle of the dough)
Step Three: Rotate the bowl 90 degrees again and repeat step one.
Step Four: Rotate the bowl 90 degrees and repeat step one, one last time. By this point you should have stretched and folded all 4 corners of the dough inwards.
Step Five: Cover the bowl and let rest for 30 minutes.
-
Time for your second round of stetch and folds.
Step One: Grab one of the sides of your dough. Pull it up in the air, and stretch it across the dough ball to the middle of the dough.
Step Two: Rotate the bowl 90 degrees and repeat step one. (Grab the side of the dough, pull it in the air, and stretch it to the middle of the dough)
Step Three: Rotate the bowl 90 degrees again and repeat step one.
Step Four: Rotate the bowl 90 degrees and repeat step one, one last time. By this point you should have stretched and folded all 4 corners of the dough inwards.
Step Five: Cover the bowl and let rest for 30 minutes.
-
Time for your third round of stetch and folds.
Step One: Grab one of the sides of your dough. Pull it up in the air, and stretch it across the dough ball to the middle of the dough.
Step Two: Rotate the bowl 90 degrees and repeat step one. (Grab the side of the dough, pull it in the air, and stretch it to the middle of the dough)
Step Three: Rotate the bowl 90 degrees again and repeat step one.
Step Four: Rotate the bowl 90 degrees and repeat step one, one last time. By this point you should have stretched and folded all 4 corners of the dough inwards.
Step Five: Cover the bowl and let rest for 30 minutes.
-
Time for your fourth, and final, round of stetch and folds. By this point, you should see bubbles on the surface of the dough and will be able to feel the gluten forming. The dough should be stretchy.
Step One: Grab one of the sides of your dough. Pull it up in the air, and stretch it across the dough ball to the middle of the dough.
Step Two: Rotate the bowl 90 degrees and repeat step one. (Grab the side of the dough, pull it in the air, and stretch it to the middle of the dough)
Step Three: Rotate the bowl 90 degrees again and repeat step one.
Step Four: Rotate the bowl 90 degrees and repeat step one, one last time. By this point you should have stretched and folded all 4 corners of the dough inwards.
Step Five: Cover the bowl and let it bulk ferment. Bulk ferement means we are going to leave it somewhere warm for 4-8 hours or until it doubles in size. The strength of your starter, and the temperature of your house, will largely effect how long your dough takes to double. I recommend turning on your oven light and sticking it inside. Mine usually takes about 4 hours when I do this. Be careful not to let it over ferment or else you will have a sloppy mess. (If this happens to you, turn it into focaccia instead!)
-
Now that your dough has doubled in size, we are going to shape it put it in the fridge overnight.
Step One: Place the dough on a clean work surface (can lightly dust with flour if desired). Fold the dough onto itself and roll up. Then shape into a ball by gently spinning it toward you. Here is a good video of this for those of you who are visual learners.
Optional – Let the dough sit out for 15-20 minutes uncovered. This prevents the dough from sticking to the tea towel during the cold ferement.
Step Two: Turn over and shape. An easy way to do this is to fold the two sides over to meet in the middle, pinch together and then repeat on the other two sides. This creates surface tension which helps give it more oven spring (a good rise).
Step Three: Transfer to a floured banneton (or bowl with a floured tea towel) seam side up.
Step Five: Cover with plastic or a lid.
Step Six: Place the dough into the fridge for it’s overnight cold ferment. (The second, longer rise time in the refrigerator makes the dough easier to score creates better oven spring)
-
The dough will keep in the fridge for up to 5 days so you can really do the baking whenever you would like.
Step One: Place your dutch oven into the stove and preheat to 500 degrees. I like it to preheat for about 30min-1hr so the dutch oven has time to fully heat up.
***I have multiple of these cast iron dutch ovens and HIGHLY recommend them if you are looking to buy one! They are so durable and can be used on the stovetop, in the oven, or even over flame. If you’re using a different one, just make sure it is oven safe to 500 – keep in mind that not all dutch ovens are the same.
Step Two: After your dutch oven is nice and preheated, take your dough out of the fridge. Lay a piece of parchment paper on the counter and flip your batton (or bowl) upside down onto the parchment paper so the dough sits in the middle. Remove the batton/bowl.
***Make sure your parchment paper is oven safe to 500 as well, or at least 450. I use this one and it works great. You could also invest in a bread sling.
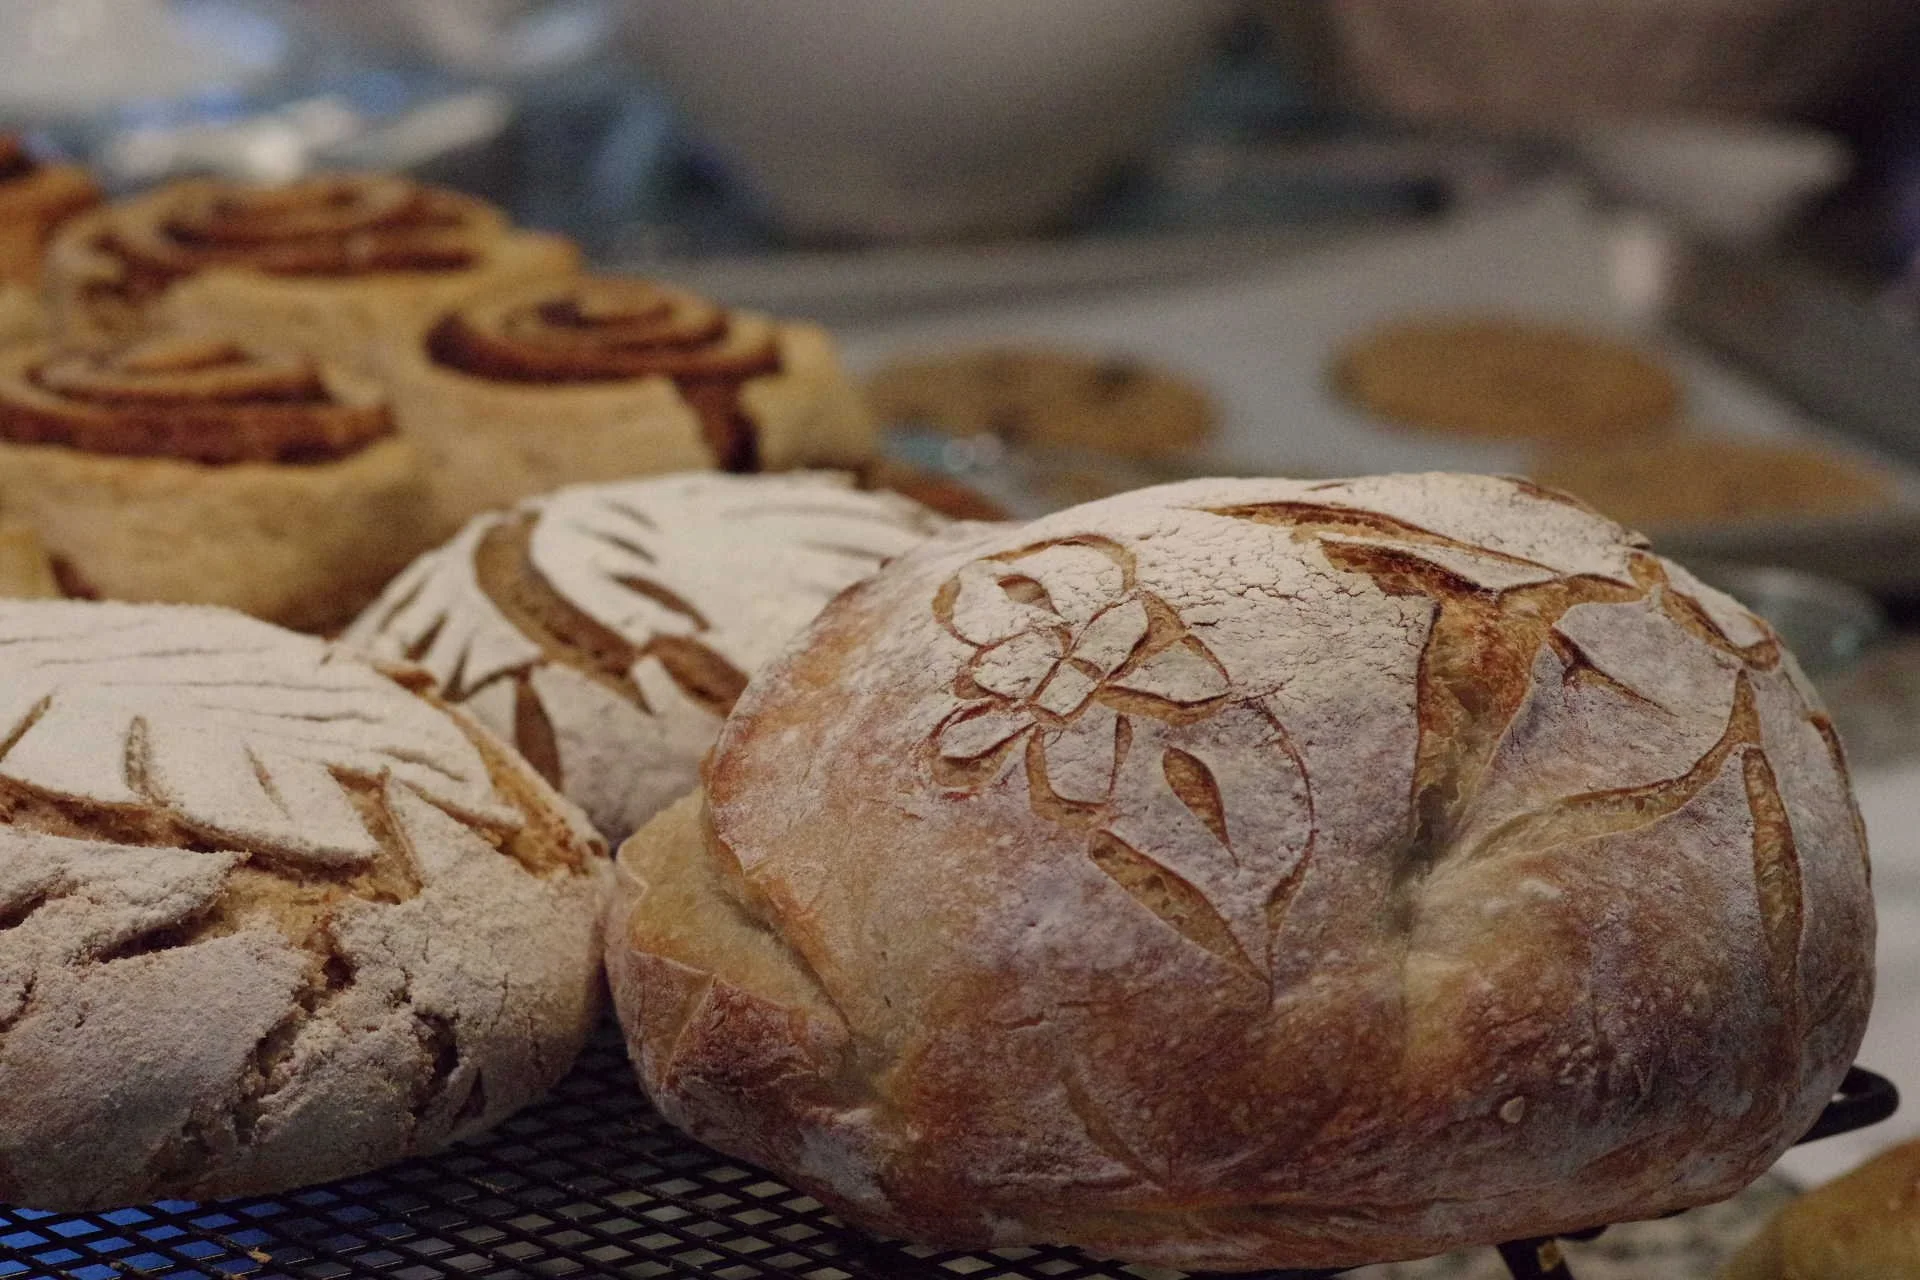
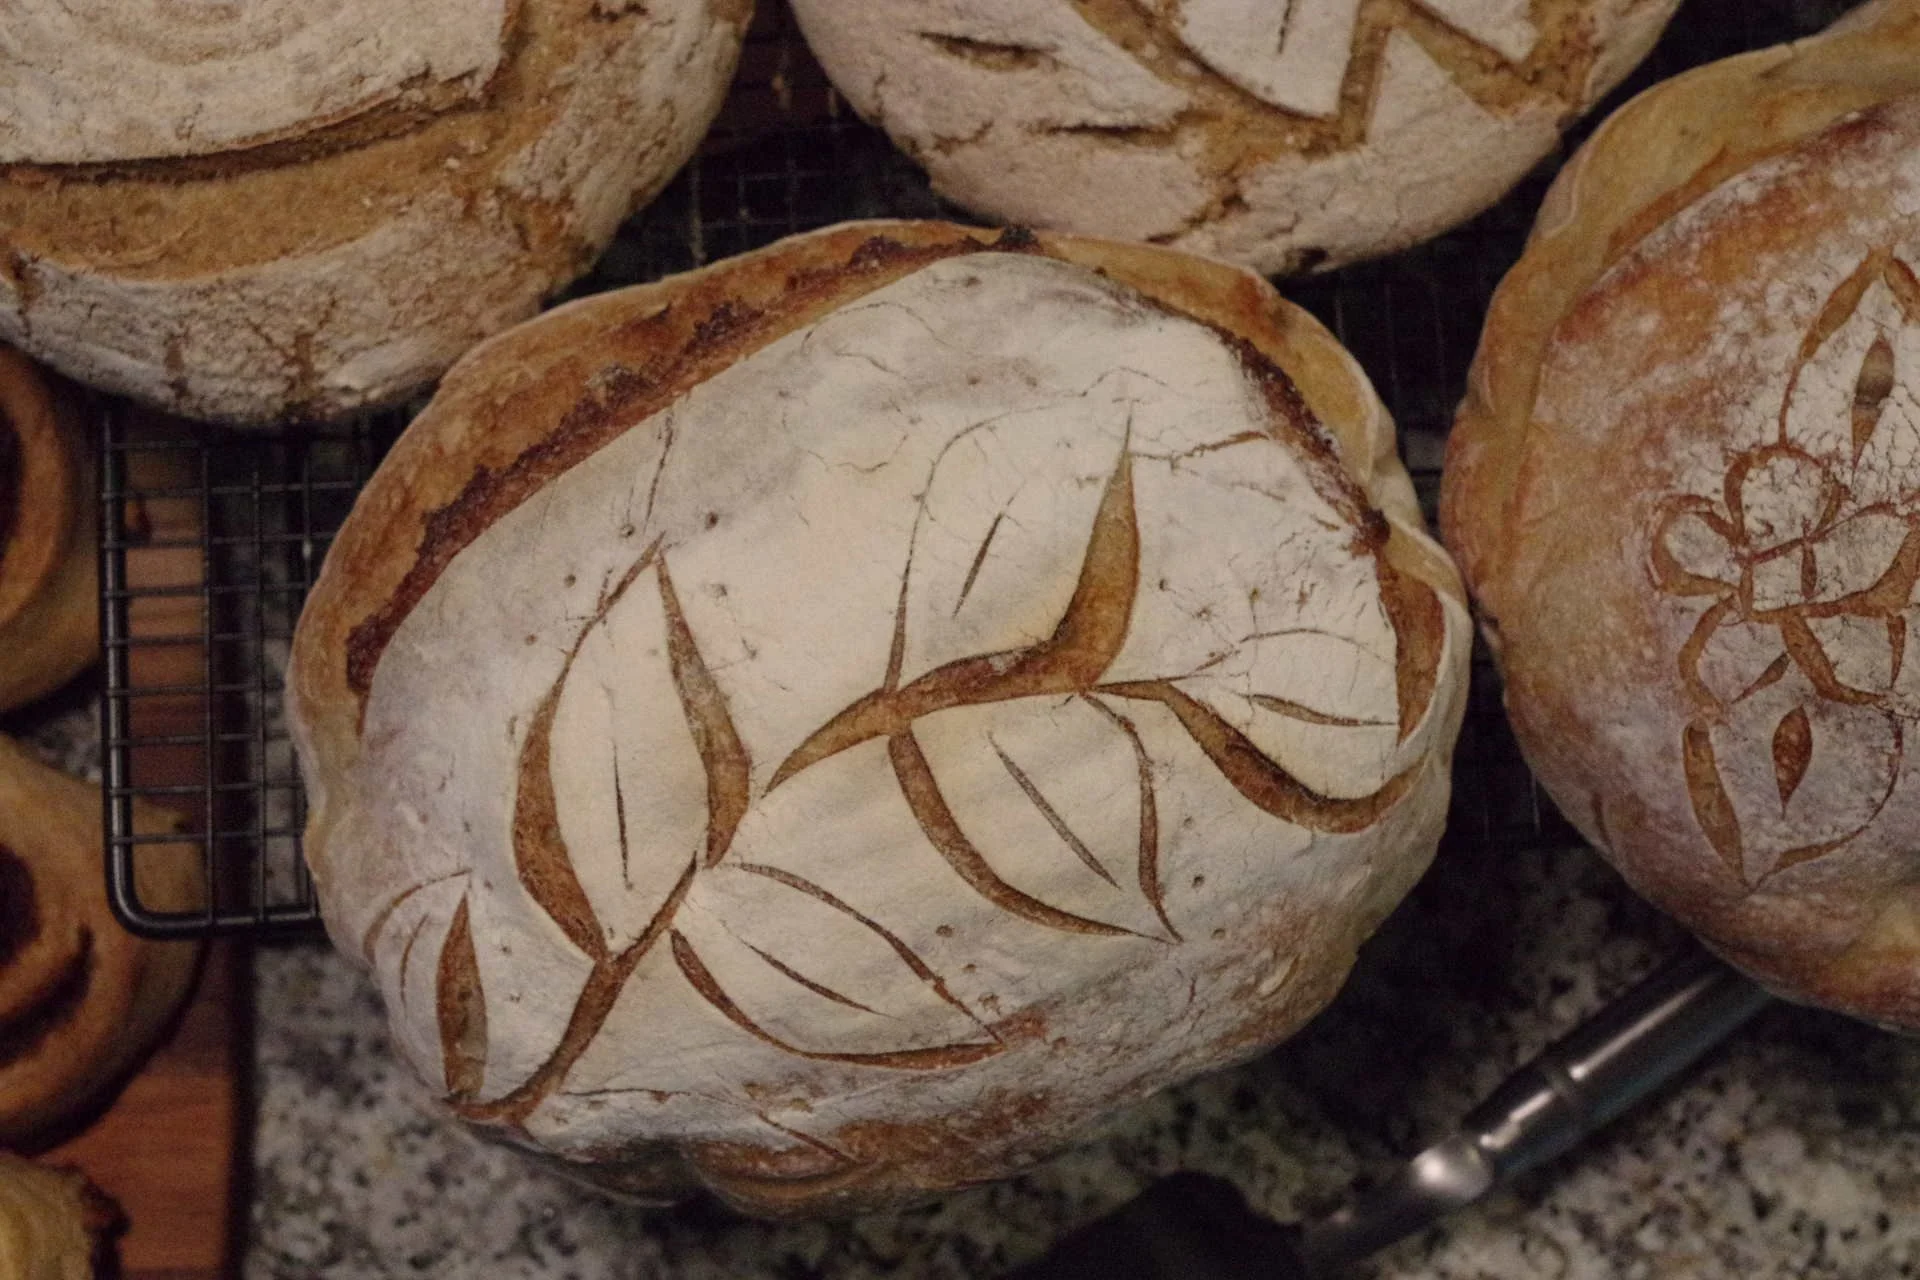
Step Three: Lightly dust the top of your dough with flour.
Step Four: Using a scoring knife, make a mark in your dough. I like to do one large score (called an expansion score) and then a cute design for the other score.
Step Five: Carefully, transfer the piece of parchment paper with the dough into the hot dutch oven. (Careful not to burn your fingers!) These are my favorite oven mitts for bread because the fingers make it easier to handle the dutch oven lids.
Step Six: Put the lid on your dutch oven and place the dutch oven into the stove. Bake at 500 for 20 minutes.
Step Seven: Remove the lid with oven mitts, turn the oven temperature down to 475, and bake an additional 15-25 minutes or until golden brown.
Step Eight: Remove the dutch oven and let the bread cool for 15 minutes before cutting into it.